Saturday, November 26, 2011

Christmas card swap returns

I am very happy to receive these gorgeous cards.  I cannot take credit for any of these cards; they were all created by Cricut circle members on the messageboard, hosted in Canadian chat.  Not all the cards makers were identified, not everyone blogs, and not all bloggers blogged.  Whew, say that ten times & see if it makes sense.  Out of respect to those who may not wish identification I will try to only identify the ones I know are blogged and out there for everyone to see as I figure them out.  Please let me know if I've screwed up any details?  Just to refresh your memory, here is the link for the card I made Christmas card.  It's very plain compared to these, but I'm pleased to have been able to join in.

Time to see the pictures, and there's a lot!  
Please click on any picture to enlarge.

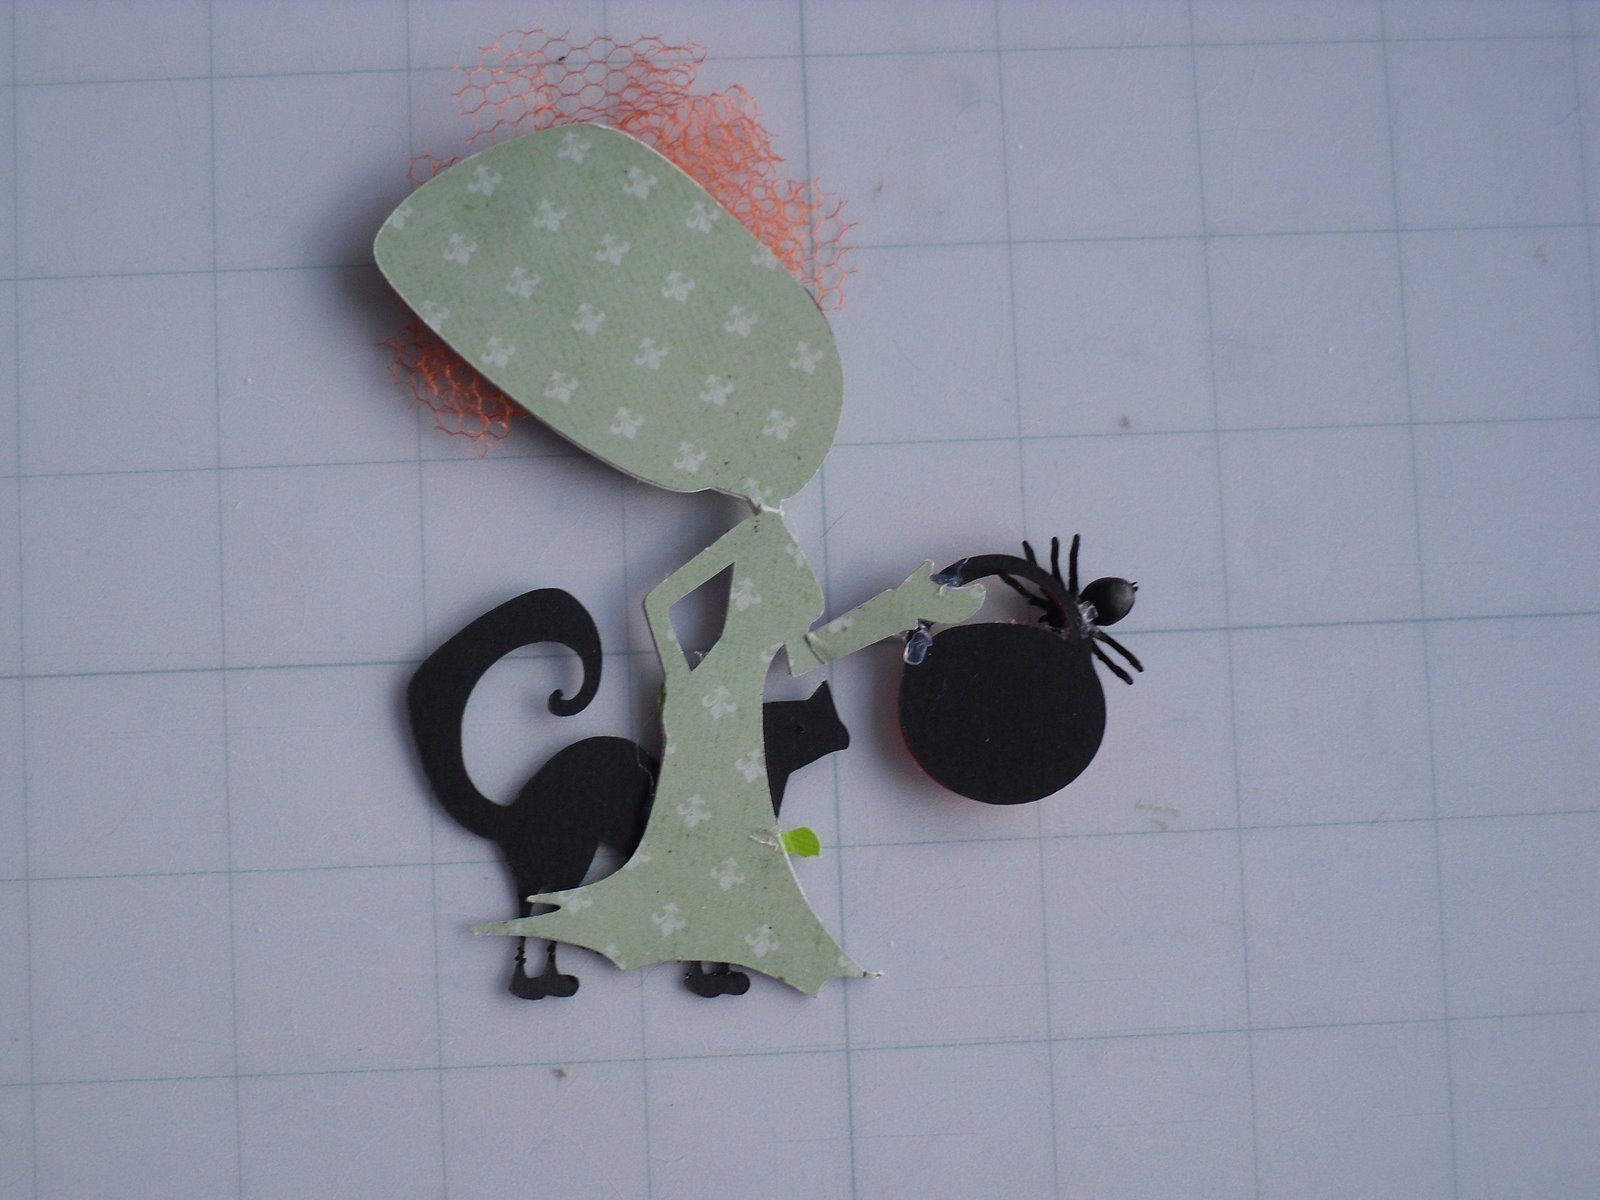
This stylized green tree has matching stickers as accents inside.  The ornaments really make it work.
 This looks to be created on the crucut "Imagine" machine which prints and cuts.  That ribbon detail is paper with doodle stitching, very cool!  You can visit her blog here Jeanniecards
 I rushed to take the pictures in the sunny afternoon light and I'm glad I did since it really helps showcase the embossing and raised details on the different cards.  The colour contrast is very effective and lively.
 Can you see the subtle inking detail to give dimension on the snow?  It is sweet that the birds are keeping the snowman company.
 I really like how the embossing and sparkle accents on the trees turned out.  The white rickrack is a great snow detail.  You can visit her blog here Chasinkeegan

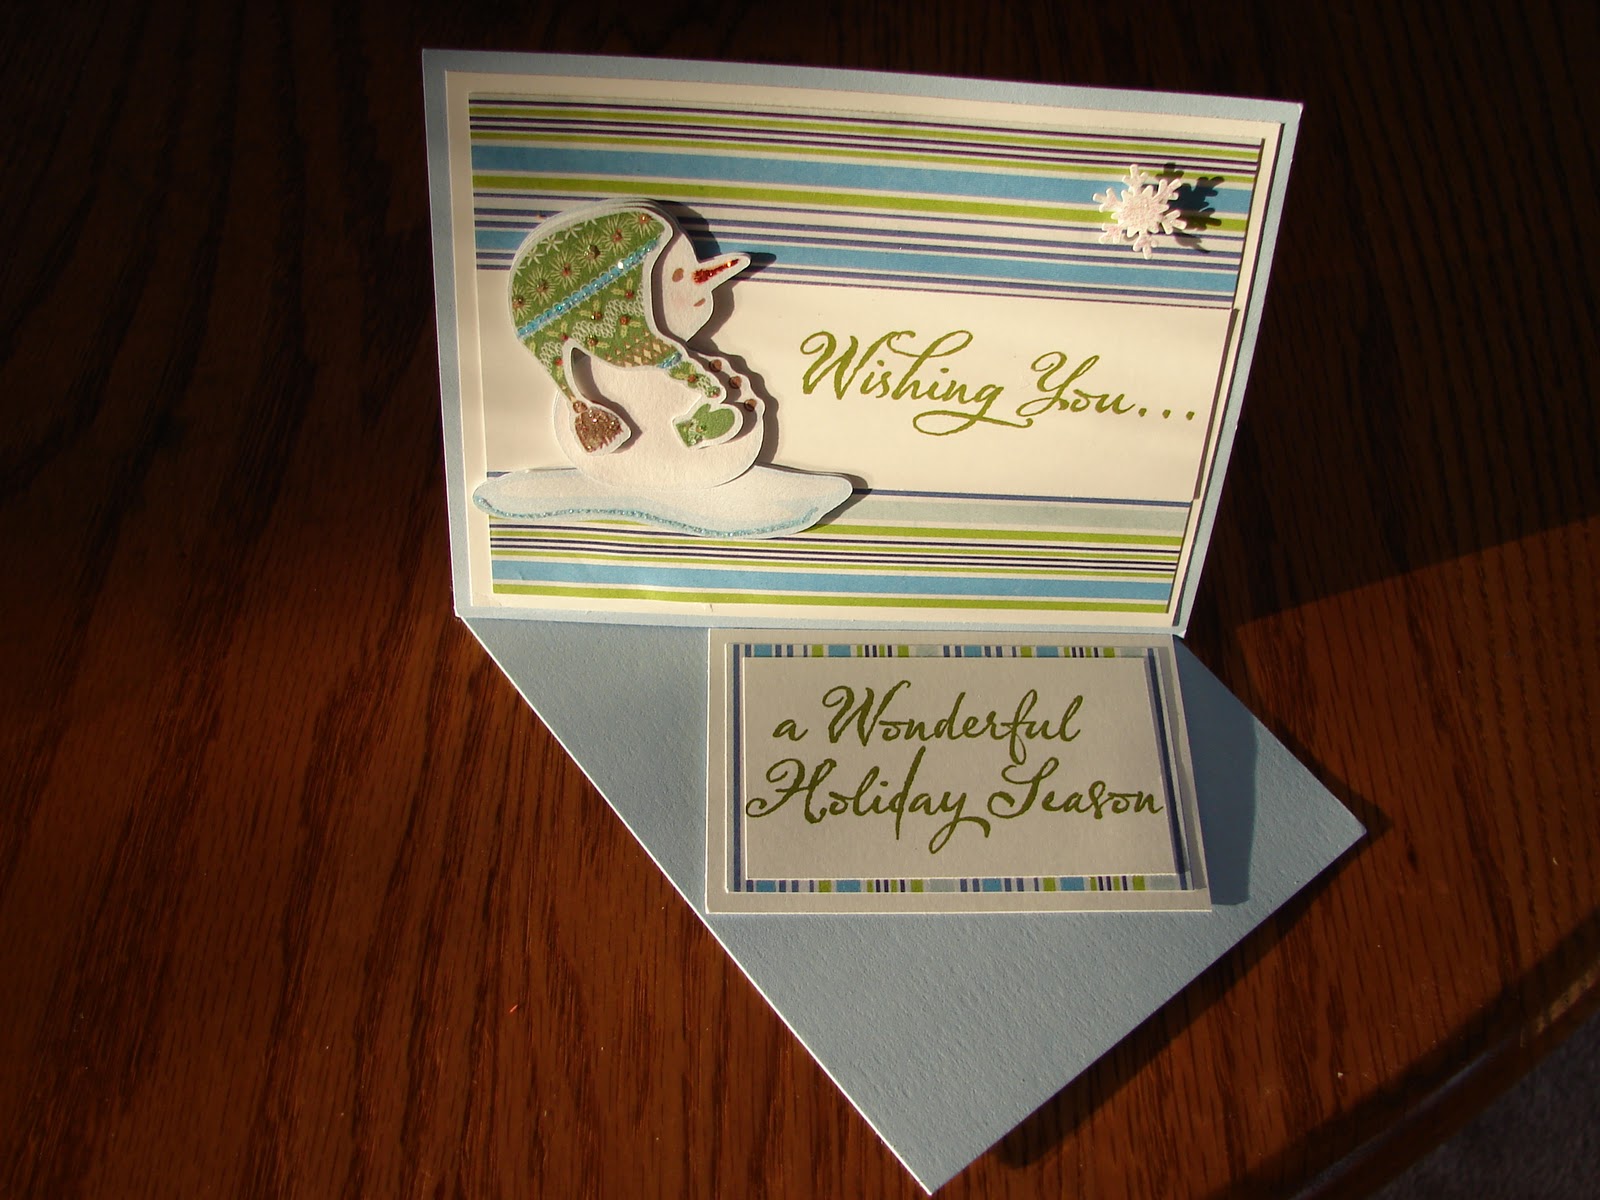
A note about this one, the next 2 photos show the inside, very clever detail.  The "stickles" sparkle glue accent it nicely.
Here are the inside cover fold lines.
 Isn't that cool that it can stand like this?
 This card looks to be by the same maker as the card above, but the snowman is on a spring, so it juggles as if bobbing down the snow hill.
 Check out the drippy lines on the white base inside, I'm pretty sure that is the drippy-goo Martha Stewart punch.

 There is a shaker box in the centre with snowflake flurries for the sweet snowmen to stay cozy.

 This has nontraditional colours but it really works.  It looks like embossed acetate plastic and then possibly alcohol inks to add colour.  The little silver metal rectangle says "Season's greetings."  You can visit her site here las-cricut 
This card is stamped inside to say, "Wishing you sparkle, Wishing you cheer, For a Bright Merry Christmas and a Happy New Year."  Details Scrapperdee's Rambling, she made 75 of these beauties!
 Another lovely embossed card.  The inside says, "May your season be BLESSED with all things bright & beautiful."  The centre ornament matches the white border with gentle sparkle.  You can see the details at her blog Scrapaholic Jen
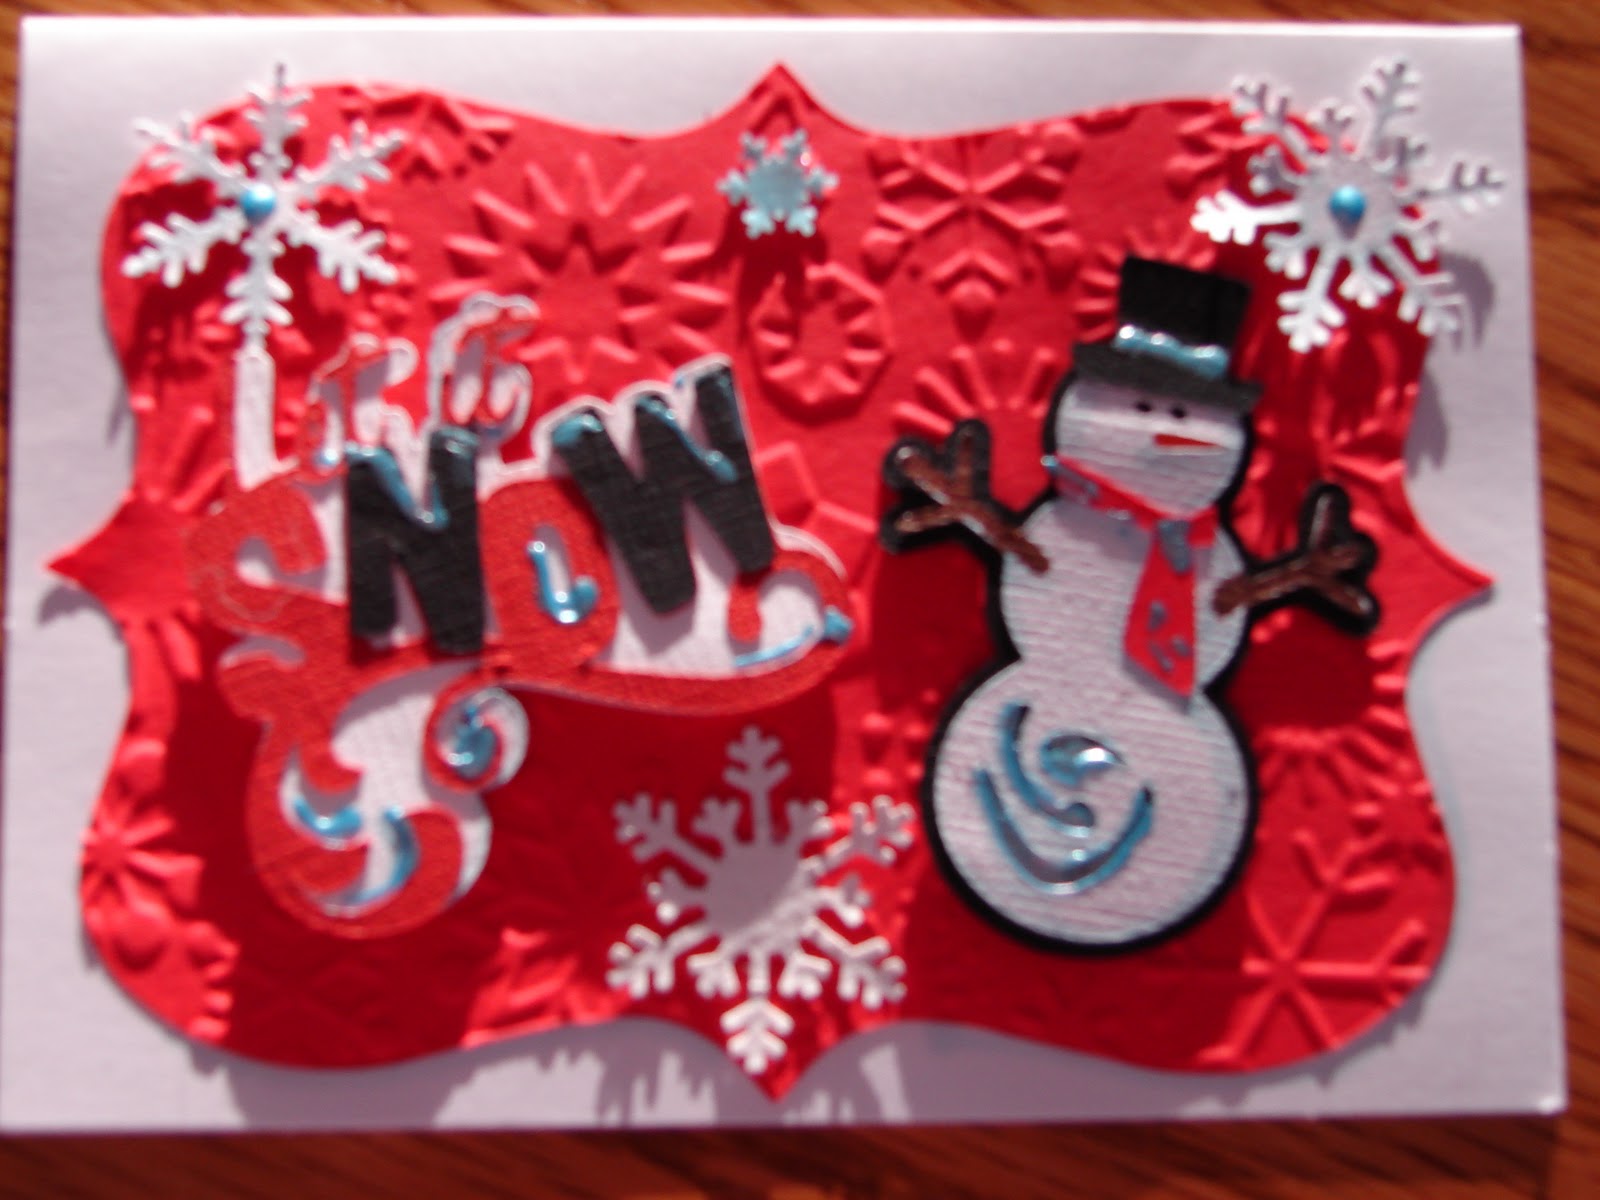
 I was trying to get the lens to reflect light off the red swirls, they are sparkly.  The inside says, "May the warmth &; love of CHRISTMAS be yours today and always."  You can visit her Stampin' up site here Stampinup if you like.
 This clever blogger embossed heavy weight aluminum foil for the shiney silver base.  The snowman looks to be a heat embossed stamp. Created by Croatiancrafter

 Check out the layers of details, very interesting to look at with the different embossing.  The inside sentiment says, " Snowflakes are...winters Butterfly's!!!!!!!" Ms.Mara's Crafty Stuff
Lovely "stickles" sparkle glue detailing, but look below to see what is revealed when opened, presents!  Trudi M sells Creative Memories products here mycmsite.com
I learned how to add links, yippee for me!  AND I noticed if I click the tick box, it allows the links to open a second browser window, which I really like.  Sometimes hopping around on the internet I get lost and forget where I started.  I'm so proud of this collection of cards, each one is like a little piece of art in itself.  I'd like to send a great big THANK YOU to each and every creator of these cards.  Paper engineering at it's finest!  I have plans to bind them into a little Christmas planning book so they can be enjoyed and not hoarded.

Season's Greetings everyone!

Saturday, November 19, 2011

cookie recipe swaps


I joined an online cookie recipe swap in progress on the cricut circle messageboard.  Here are my contributions.  The criteria was to use at least one cricut cut, the recipe, and a picture of the recipe.  I will post the recipes at the end.  Cricut & gypsy were used for both projects.  White paper is photocopy paper,which is light weight and acid free.  The  coloured papers are from a DCWV paper pack, "Tis the Season" I found on sale recently.  Click on any picture to enlarge.

The first one is 6"x6", I used "Church Windows" as my recipe.  I chose a window frame from Ornamental Iron cartridge, unlinked the dimensions to change them to 5.44"x5.22" They were "kiss cut" from wood grain Con-Tact paper.  Using the cricut tool kit "pick" I was able to weed out the waste from 2 frames in the time it took cricut to cut 4.  The large middle piece on the lower left of the picture is the centre of the frame and makes an excellent place to deposit all the little sticky bits.  Originally I was going to lay these on transparencies and colour in the windows with markers.  I realized being 6"x6" that would leave no room for the picture.  It occurred to me, the pictures would serve nicely in the window as colouring so I got busy with an exacto knife and scissors to cut the pictures to fill the frames.


Blogger and picassa aren't agreeing with me as to where I can insert text, sorry but I have no idea how to fix that.  This is the second recipe page, "Waffle Cookies," it is 8"x8".  I used Picturesque cartridge and unlinked the dimensions on the photo corner to become 2"x2" kiss cut them from silver Con-Tact paper and added 3 to each page.  That left a big gap in the upper right corner so I used Inkadinkado brand circle & dots clear acrylic stamp & pigment ink to make a pretty accent detail there.  That stamp set was a gift from a previous swap, I was so happy to finally use it!  I had trouble with the white ink not showing up on the pink, orange, and pale green "hohoho" paper so I switched to a dark brown as you can see in the below picture and it made all the difference visually.


Posted by Picasa
As promised, here are the recipes.  The waffle cookies look like "space invaders" from that old atari video game so they would be great for a theme party too.  I have no reference for where the waffle cookeis recipe came from.  The Church windows recipe I adapted from the Steven & Chris TV show, but I found it was too sweet, so I use unsweetened coconut and it tastes just as addictive.


Waffle Cookies  (makes 12)
1/2 cup melted butter
2/3 cup sugar
2 eggs
1 tsp vanilla
1 cup flour
1/4 cup cocoa
1/2 tsp salt

1. Mix together wet ingredients followed by dry ingredients. The batter will be thick.
2. Drop by tablespoon onto hot waffle grill.
3. Check cookies after one minute. Cook about 2-3 minutes.  When set remove from iron with a fork & cool on baking rack.
4. Frost with favorite icing; or using a small spoon drizzle with melted chocolate.

Melted Chocolate:  use 4 parts chocolate, 1 part vegetable oil, microwave in one minute increments, stir each minute to prevent burning.    Or use double boiler method.

Note: batter can be thinned with 1/2 cup milk or water if you desire thinner, more lacey looking cookies.  Measure about 1/4 cup batter per cookie.  You may need to adjust cooking time if you desire crunchy or soft cookies.
Makes 16-18 cookies.


Church Windows (makes 2 logs)
3/4 cup butterscotch chips
3/4 cup chocolate chips
1/2 cup butter
1/2 cup peanut butter

2 cups coloured mini marshmallows
1 cup unsweetened flaked coconut

In a medium sized bowl, melt together the first 4 ingredients in one minute increments in the microwave.  When completely blended, mix in flaked coconut and let cool to lukewarm.  Mix in marshmallows. 

Unroll 2 large pieces of parchment paper or wax paper, about 24” long.  Divide batter in half, dump half on paper, spread it out into a log. Match long paper edges together and roll down on itself to the log to roll it up to about 2” diameter, twist ends closed.  Repeat with remaining batter.  Put logs into the fridge, when completely chilled, slice as needed.

Wednesday, November 16, 2011

Halloween 2 page Layout


Ta daaaaaaaa, 
This was the easiest, most fancy 2 page scrapbook layout ever.   Many thanks to my friends on the cricut circle messageboard for the cuts from the swap I showed last post.  As always, click on the picture to enlarge if you like.


First thing I wanted to show you, do you recognize this cut out?  The smart woman who created this cutout used ugly paper as a backing, knowing it wasn't going to matter to the final result.  I think that's a very good way to use supplies.
\
left side

right side, there she is in the middle, not ugly at all.

Here's the completed layout.  I penciled in the year until I figure out a nicer way to add that detail.  Whoops, sorry about the extra clutter at the top of the picture.  I wasn't in a cleaning up mode rushing to get these pictures done.  Background paper was from my stash.

Posted by Picasa
Yes, Boomer made a sneaky appearance 5 times in this layout, naughty kitty!
Have a great day!

Saturday, November 12, 2011

Halloween Swap returns

Great mail this week, the Halloween cut swap came back!  Here's the details to refresh your memory Halloween swap.  Participants picked a cricut image to cut out & embellish with at least 3 different techniques.  I can't account for what cuts these are or all the techniques used, but I really enjoy them.  As always, click on the picture to enlarge.

That crow looks like he's going to tell off Mrs.Frankenstein, the nerve!  The paper has shimmer, the lines on the tombstone have been accented with a white pen, and the pumpkins & rust coloured vine look painted.  Mrs.F has a lovely mini plastic spider on her candy bucket.  Even her kitty muse has sparkle on his tie.  Did you see her earring?  Of course her hair is fabulously accented with tule.

I apologize for the old ruler trick but it helps me check that the pictures are clear.  Its a snowy day and the light isn't optimal today.  The tree & bat were packaged with a cute bag topper, I had to open it to get a  better picture.  Ghostie has what looks like "Peachy Keen" brand stamp face, as does the embossed bat.  I love pumpkin head, he's embossed too, check out his button eyes and glimmering mouth.

The jar of poison has mysterious things hidden in the swirling shimmering powder, its a shaker box, encapsulated with foam adhesive to contain its secrets.  Check out the glamour witches broom, great details! Glitter and ribbon and feathers, oh MY!

You've already met my lil trick or treater.  Bone-zie here has a secret!  He's been cut with cricut pens, cut out, and encrusted with sparkle.

I charged him under a light & went to the creepy scary furnace room to capture his cool!

Posted by Picasa
I'm so proud of my circle message-board friends, they rock!  I will hoard these gently until I can do a layout for Halloween 2011, soon, bwwaaa haaa haa haaaaaaaaa!!!!!

Wednesday, November 9, 2011

Christmas card swap

I've been keeping busy joining swaps it seems.  I didn't join any last year so this has been a fun challenge to myself to get busy and join in.  Indeed I was challenged as card making does not come easily to me.  I finally found an older pagemap that I liked in a scrapbooketc.com email and got to it.  The papers are from my stash.  The silver is contact paper, "kisscut" on my cricut.

A few caution notes about cutting the silver Con-Tact brand paper:
It has a plastic top layer bonded to a silver sticky layer on the removable backing.  I have found a sharp blade and medium sticky (not brand new) mat works best.  "Kiss cut" isn't always enough (3-3-3) and I have found with the plastic blade housing, setting 4 cuts better.  The smaller and more intricate a cut, the more "extra" cuts I have needed.  The silver contact paper is like vinyl, a little stretchy, but the plastic bonded layer sometimes gives grief during the weeding (removing un-needed background).  When doing small intricate cuts, be patient.  I have ruined many cuts ripping them, inadvertently even.  Using the cricut tool kit hook and spatula really save frustration. Practice on simple shapes and see how you like it before jumping right to a project.  This type of paper is found with shelf liner products at many stores.

The cards are 4.25" x 5.5".  I cut the same silver Con-Tact paper with my ripple blade on my rotary cutter, about 1/8 of an inch, I just eyeballed the width of the blade guard until I had a pile.  I cut rectangles of the red plaid paper, figured out how much space was one quadrant and sliced down the other 3 papers to fit. I  goofed up the measurements somehow and ended up re-trimming all 4 sides so that there would be about 1/8" white border to complement the silver trim that covers up funny looking unmatched edges.  I warned you I am not a strong card maker.  Its okay to laugh, I do too!

 The word "Greetings" is cut from Winter Wonderland cartridge at 2.96" x 1.05", again from the silver Con-Tact paper.  The red cloud is from Elegant Edges cartridge, it was square but I unlinked it on the gypsy to make it 3.5" x 2.5".  It is boosted up on foam dots to give it raised detail.  I wanted to do doodle-stitching with a white gel pen around the cloud and decided against it.  The gel pens weren't cooperating and looking at it again, it could've spoiled the appearance with the size of the word.  Seventeen people joined this swap so it will be fun to see what everyone has created!

Saturday, November 5, 2011

What to do with Shrinky Dinks

Better late than never!
Here's the post that shows what I made for the exchange BoomerKnows Charm for swap
As promised, here's the photos of the charms I received from the "Christmas In July 2011 shrink plastic charm swap."   I don't have permission to post other people's names and information but I can post the beautiful charms I received.  There were 26 people involved in this swap.
There were 2 charms that didn't have identifying information the mittens in the upper right corner in the picture above, and the red & green stocking in the left of centre in the picture below. One tag was missing a charm so a mini mystery for me!


 I'm so glad I joined in and did it.  If you've never tried a swap, 
its worth the work to get so many lovely returns in the mail!


A good friend mentioned how cute the finished shrink plastic charms look but she also asked, what do we do with them?  That got me to thinking and while I was doing my weekly craft blog surfing I jotted down a decent list.  I noticed that several ideas are transferrable to polymer clay (FIMO) .  It just goes to show, ideas are everywhere.  Here is my list, in no particular order:

pet tags
wine charms
fridge magnets
key ring charm or identifier
ring
cell phone charm
knitting or crochet stitch marker
charm bracelet
necklace pendant
earrings
inspiration word reminder charm
zipper pull
doll with moveable limbs
sun catcher
bookmark charm
hair accent
mini Christmas tree ornaments
card accent
handmade book spine adornment
scrapbook accents
miniature house accents
tea light adornment
custom buttons

I have no idea how long wearing decorated shrink plastic would be if used for clothing accents.  
If anyone knows about shrink plastic survival rates for regular everyday machine wash/dry use 
I'd love to hear from you!

While I was surfing I found other things people did to manipulate shrink plastic:
Sand it before applying chalk or pencil crayons
ink
markers
stamps
etching
layer them
emboss while still warm
twist and distort them
print them through home printer 
(not for a lazer printer, the heated plastic will ruin the machine)